
Introduction: Creating a calculator app using Java in Android Studio is an excellent way to get started with Android app development. In this detailed step-by-step guide, we will walk you through the entire process of building a simple calculator app. We will utilize buttons for user input and perform basic mathematical operations such as addition, subtraction, multiplication, and division. By the end of this tutorial, you will have a fully functional calculator app that you can run on an Android device or emulator.
Step 1: Setting up the Project:
- Launch Android Studio and click on “Start a new Android Studio project.”
- In the “Create New Project” window, provide the application name for your calculator app (e.g., “SimpleCalculator”).
- Choose a suitable package name for your app, and select the location where you want to save the project.
- Select the minimum SDK version. It is recommended to choose a relatively recent version to support a wide range of devices.
- Choose an empty activity template and click on “Finish” to create the project.
Step 2: Designing the User Interface:
1. Open the layout file “activity_main.xml” located in the “res/layout” directory.
2. Inside the “RelativeLayout” tags, add a TextView to display the result and set its ID as
“resultTextView”:
<TextView
    android:id="@+id/resultTextView"
    android:layout_width="match_parent"
    android:layout_height="wrap_content"
    android:textSize="30sp"
    android:gravity="end"
    android:layout_margin="16dp" />
3. Add buttons for numbers 0-9 and mathematical operations (+, -, *, /):
<Button
    android:id="@+id/button0"
    android:layout_width="wrap_content"
    android:layout_height="wrap_content"
    android:text="0" />

<!-- Add buttons for numbers 1-9 and mathematical operations (+, -, *, /) -->

<Button
    android:id="@+id/buttonAdd"
    android:layout_width="wrap_content"
    android:layout_height="wrap_content"
    android:text="+" />

<!-- Add buttons for subtraction, multiplication, and division -->
Step 3: Handling Button Clicks and Performing Calculations:
1. Open the Java file “MainActivity.java” located in the “java/<package-name>” directory.
2. Declare variables for the TextView and buttons at the class level:
private TextView resultTextView;
private Button button0, button1, button2, button3, button4, button5, button6, button7, button8, button9;
private Button buttonAdd, buttonSubtract, buttonMultiply, buttonDivide;
3. Initialize the variables inside the onCreate method:
@Override
protected void onCreate(Bundle savedInstanceState) {
    super.onCreate(savedInstanceState);
    setContentView(R.layout.activity_main);

    resultTextView = findViewById(R.id.resultTextView);
    button0 = findViewById(R.id.button0);
    // Initialize the remaining button variables
}
4. Set click listeners for the number buttons (0-9) to append the corresponding number to the result:
button0.setOnClickListener(new View.OnClickListener() {
    @Override
    public void onClick(View v) {
        resultTextView.append("0");
    }
});

// Set click listeners for the remaining number buttons
5. Set click listeners for the mathematical operation buttons to perform calculations:
buttonAdd.setOnClickListener(new View.OnClickListener() {
    @Override
    public void onClick(View v) {
        performCalculation("+");
    }
});

// Set click listeners for the remaining mathematical operation buttons
5. Implement the performCalculation method to evaluate the expression and update the result:
private void performCalculation(String operator) {
    String expression = resultTextView.getText().toString();
    double result = 0.0;
    String[] operands = expression.split("\\" + operator);

    double operand1 = Double.parseDouble(operands[0]);
    double operand2 = Double.parseDouble(operands[1]);

    switch (operator) {
        case "+":
            result = operand1 + operand2;
            break;
        case "-":
            result = operand1 - operand2;
            break;
        case "*":
            result = operand1 * operand2;
            break;
        case "/":
            result = operand1 / operand2;
            break;
    }

    resultTextView.setText(String.valueOf(result));
}
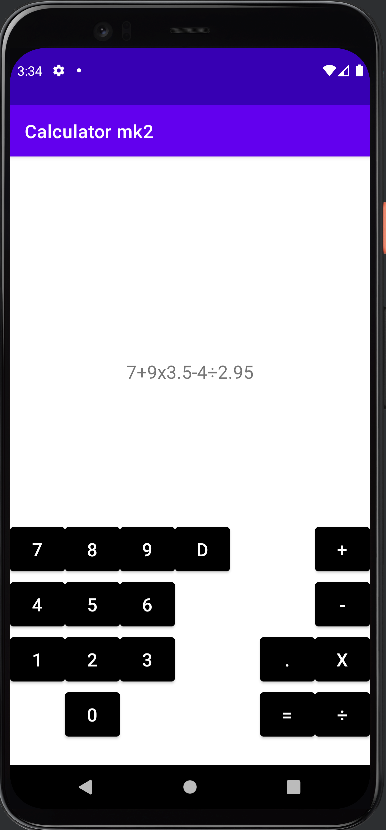
Step 4: Testing the App:
- Connect your Android device to your computer or use an emulator to run the app.
- Build and launch the app on the connected device.
- Test the calculator app by entering numbers and performing calculations using the buttons.
- Verify that the app displays the correct result for each operation.
Congratulations! You have successfully built a simple calculator app using Java in Android Studio. This app allows users to perform basic mathematical calculations by inputting numbers and using the provided buttons. You can further enhance the app by adding additional features, such as decimal point support or advanced mathematical operations.
Conclusion: In this comprehensive tutorial, we covered the step-by-step process of building a simple calculator app using Java in Android Studio. By leveraging buttons for user input and implementing basic mathematical operations, you have created a functional calculator app capable of performing addition, subtraction, multiplication, and division. This project serves as a solid foundation for understanding Android app development and can be expanded upon to include more advanced features and functionalities. Enjoy experimenting with your calculator app and exploring further possibilities!


