Configuring virtual hosts in Apache allows you to host multiple websites on a single server. In this detailed guide, we will walk you through the process of adding an Apache virtual host for a new domain. By following these steps, you will be able to successfully set up and manage multiple websites on your server.
Step 1: Prepare the Environment:
- Ensure that you have Apache installed and running on your server. If not, install Apache by running the appropriate commands for your Linux distribution (e.g., sudo apt install apache2 for Ubuntu).
- Verify that your domain’s DNS settings point to the correct IP address of your server. You can do this by creating an “A” record in your domain registrar’s DNS control panel and adding your IP address see the image below for a sample.
Type           Host/Name                  Value/Content
A               @                          IP address
A              www                         IP address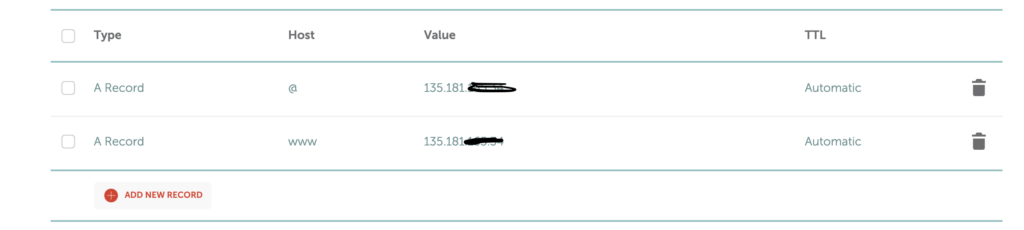
Step 2: Create a Directory for Your New Domain:
- Determine the directory where you want to store the files for your new domain. For example, you can create a directory under the default document root (/var/www/html/) or choose a different location.
- Create the directory using the following command:
- sudo mkdir -p /var/www/html/example.com
Step 3: Configure the Virtual Host:
- Create a new virtual host configuration file using a text editor. For example:
- sudo nano /etc/apache2/sites-available/example.com.conf
- Add the following configuration to the file:
<VirtualHost *:80>
    ServerName example.com
    ServerAlias www.example.com
    DocumentRoot /var/www/html/example.com
    <Directory /var/www/html/example.com>
        Options Indexes FollowSymLinks
        AllowOverride All
        Require all granted
    </Directory>
    ErrorLog ${APACHE_LOG_DIR}/example.com_error.log
    CustomLog ${APACHE_LOG_DIR}/example.com_access.log combined
</VirtualHost>
- Save the file and exit the text editor.
Step 4: Enable the Virtual Host:
- Create a symbolic link from the sites-available directory to the sites-enabled directory to enable the virtual host:
- sudo ln -s /etc/apache2/sites-available/example.com.conf /etc/apache2/sites-enabled/
- Reload Apache for the changes to take effect:
- sudo systemctl reload apache2
Step 5: Test the Configuration:
- Open a web browser and enter your domain (e.g., http://example.com).
- If you see the default Apache page or a “404 Not Found” error, ensure that the DNS settings are correctly configured and that the virtual host configuration matches the directory structure and domain settings.
- If you see the expected content for your new domain, the virtual host configuration is successfully set up.
Step 6: Repeat for Additional Domains:
- To add more domains, follow the same steps, creating separate virtual host configuration files for each domain.
- Ensure that the ServerName, ServerAlias, DocumentRoot, and log file paths are customized for each domain.
Conclusion: By following this comprehensive guide, you can successfully add an Apache virtual host for a new domain, allowing you to host multiple websites on your server. Remember to update DNS settings, configure virtual host files, enable and test the virtual host, and repeat the process for additional domains. With Apache’s virtual hosting capability, you can easily manage and serve multiple websites from a single server.


